D Vautier 2/2018
home
Tradition holds it that gas fireplace pilot lights should stay on. When a room becomes hot during the summer I usually turn off the pilot anyway. This can shorten the thermocouple and thermopile life (so they say) but then life has to go on and rooms get hot. A fireplace that keeps generating a pilot flame and heating up everything can make quite a difference.
A few months ago I tried to light the pilot on our little standalone fireplace in the spare room and it would not light. I tested the voltage of the thermocouple and it was about 1 mv, hardly enough to keep a pilot on. It's supposed to be 8 to 25 mv or so. The thermocouple keeps the pilot on and the thermopile keeps the main gas on. Some fireplaces have just a thermopile that does both.
There's a lot of disassembly involved in this little unit in order to get the thermocouple replaced but it can certainly be done by anybody with some basic tools and patience.
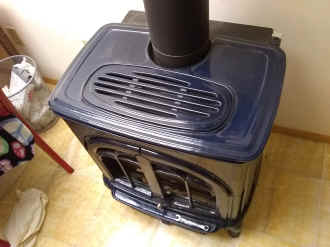
The stove is a closed vent design which means air comes from the outside, heats a sealed box and exhausts to the outside. By using outside air you get no smell or unpleasant odors especially at startup. It is basically a sealed steel box surrounded by a cast iron shell. First remove the top plate and the front panel. You may also have to remove the side panels because there are some clips on the front glass frame that must be opened to remove the glass. If the unit has never been serviced then the clips are probably locked and need a screw driver to open and this requires removal of the side panels. I simple removed the panels anyway. This is done with several extensions that reach the two mounting bolts way at the bottom. Once all the cast iron is removed the glass comes off and it is held in place by two spring clips at the bottom of the stove.
Before proceeding take pictures of the logs and all your steps so you can get everything back in the same order. Remove the logs. Remove the log assembly and the burner assembly which is attached by three screws. This should leave just the floor of the heater box and the pilot assembly. Remove the pilot assembly. The shield is connected to the assembly by one screw. Scrape away all the old silicon seal. You can now remove the thermocouple through a hole in the bottom. Before doing this it is good to disconnect the other end of the thermocouple, the thermopile and the flamer. They are attached by bolts from below.
I also replaced the thermopile while I was at
it. Just about all thermopiles are the same and cost about
$10. I had a harder time locating a similar thermocouple.
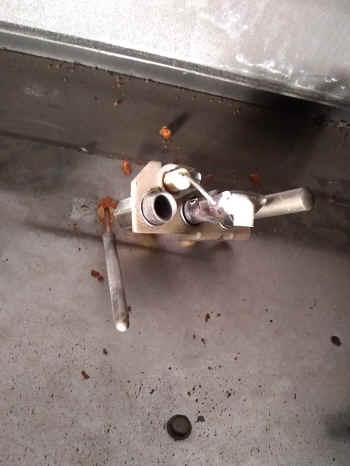
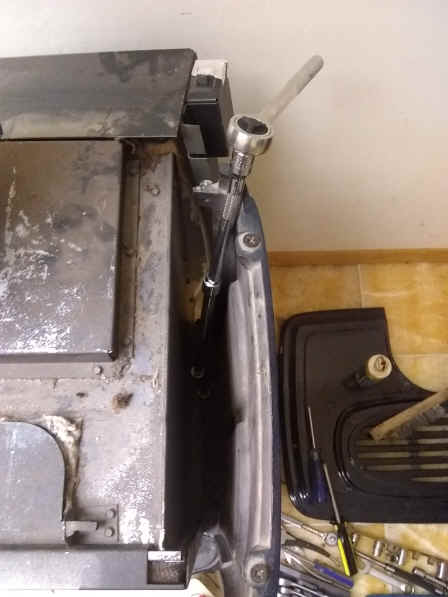
Here are the three leads for the pilot
assembly. The thermopile are the two red and white wires.
the thermocouple is the copper tube and the flame is the white tube.
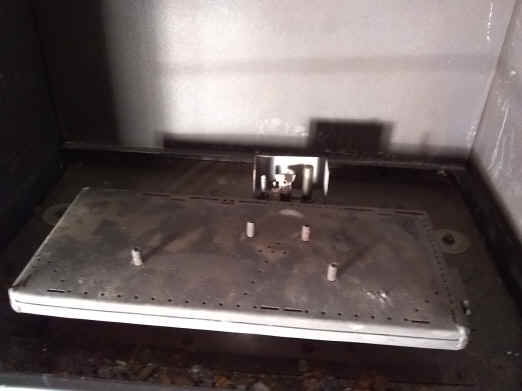
Once everything is out there is just the burner plate if front of the pilot assembly.
Here is the pilot assembly

thermocouple removal
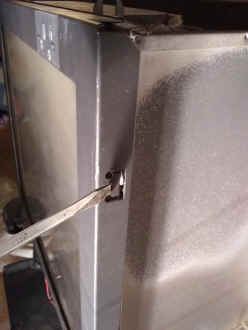 Opening tabs on side of glass.
Side panel removal
Sealing the holes under the pilot assembly
