And do it right
D Vautier
4/1/2016
I originally got a 4 camera security unit. After a few years I upgraded to a high def 8 camera system. Since much of the wiring was already in, upgrading was pretty easy.
Some of this description is about my first system but much is useful.
Storage size is determined on how long you want to record. I wanted 2 weeks recording on 8 cameras so I needed about 1T storage. It's in the specifications.
It takes a long time to read through the obscure instructions on these units. They are not very user friendly and you have to spend time figuring out just what the system does and what you want it to do.
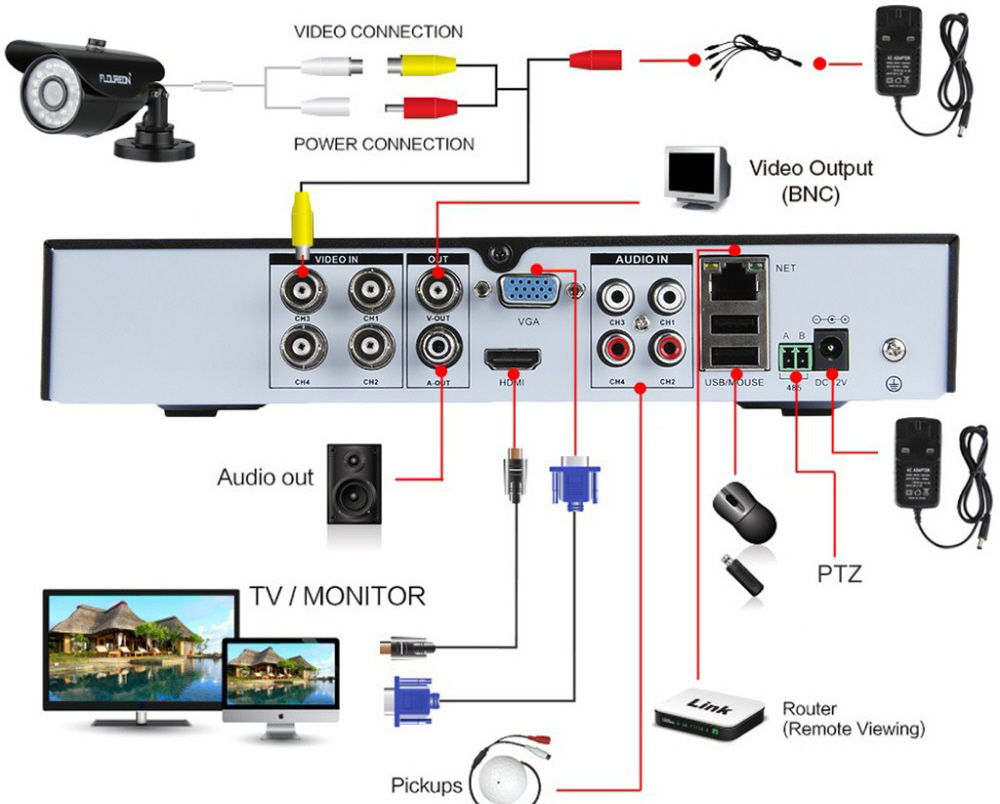
A good general guide is the schematic below. Cameras come with a standard 12 volt power source and a BNC video cable connection. Many units can be hooked up to the internet but I chose not to. BNC connections are terrible and I was always getting signal loss. I changed them out as much as I could and went for good quality RCA plugs and jacks. The receiver may have BNC so you have to crimp the BNC socket a little bit to get a good reliable connection.
You can mix and match your cameras saving the high def ones for key spots, but the cameras do ware out especially the night time infrared. You also can do a physical zoom as well as an optical zoom on some units. Optical zooms just spread out the pixels and do not help much. Physical zoom actually improves resolution.
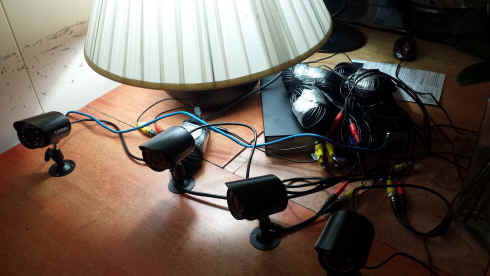
First of all set everything up on a test bench and figure out what you want it to do and which cameras you want to go where. The hookup is quite easy but there are several basic things that you need to learn to do before actual install. These include learning how to set time, set recording, monitoring and playback. Try to get used to the system because they are all a little different and can be a real pain when you do your install. Run it for at least a few days on the bench. Get used to the recording and playback functions. Don't do any wiring yet. If the system performs sort of adequately then you can make a decision whether you want to install it. It's a lot of work to install so be satisfied with the thing first before you go to all the trouble to install.
 Assuming you are ready and willing to install the
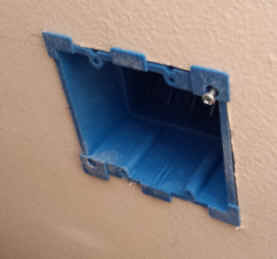
unit, You will need to build a wall panel. To do any kind of a decent job you will need several items not
included in the standard package because you don't want your wires just
hanging out of the wall.
Assuming you are ready and willing to install the
unit, You will need to build a wall panel. To do any kind of a decent job you will need several items not
included in the standard package because you don't want your wires just
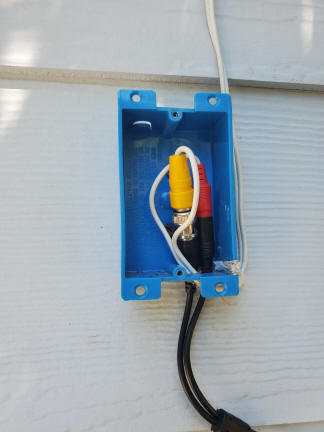
hanging out of the wall.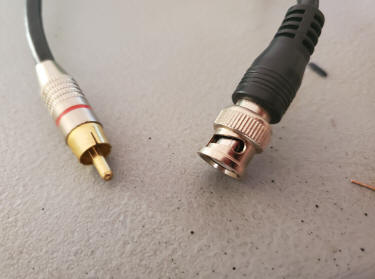 I later changed the BNC
connector on the wall side to an RCA plug because the BNCs were always
loosing signal. They are terrible connections.
I later changed the BNC
connector on the wall side to an RCA plug because the BNCs were always
loosing signal. They are terrible connections. All of the above electrical connections can be gotten for around $20 on the web. It is a good idea to order these items immediately because the operating manual takes a long time to understand and often does not match the software. So you will have time to bench test your system. If you install an 8 camera unit, you may need a bigger box.
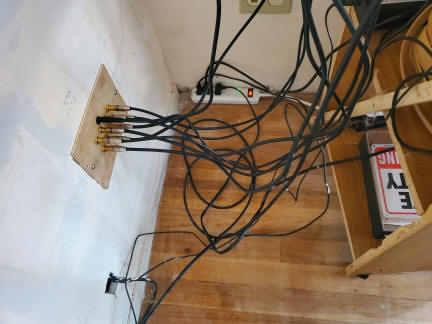
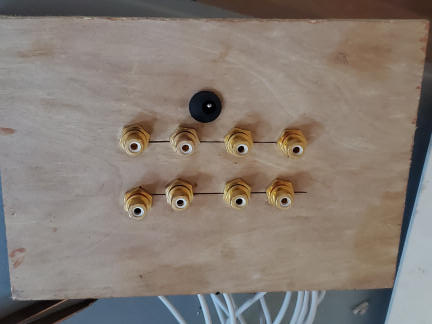
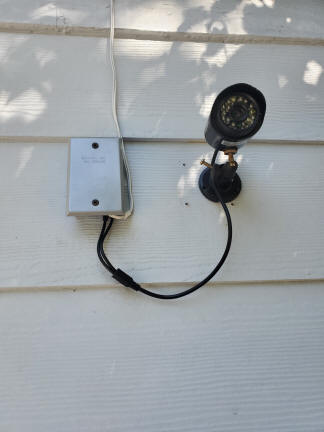
The panel box is just an ordinary double switch box. The switch plate needs four 11/32 inch holes and one 3/8 inch hole to mount the plugs. These sized may be different. The pictures below were from my first install that had only 4 cameras.
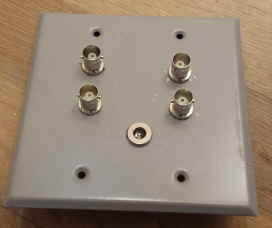
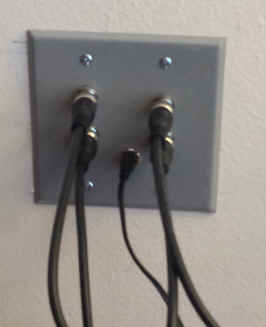
Here is what the outside connections should look like after fitted with weatherproof sleeves.

You may need to modify the cable clamps when
fastening the cable to the side of your house because the smallest cable
clamp is good for 1/4 inch coax but is too big for this wire which is
less than 1/8 inch. So I sanded down a bunch of clamps to
accommodate the smaller wire. The wires come in bundles and you
have to be careful when unwinding the bundles. There are tons of wire for each camera. It
has to be cut and
soldered to each jack and the power jack. Leave several extra feet
behind the wall so you can work on the
panel.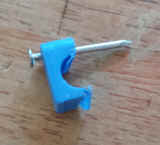
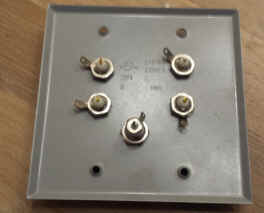
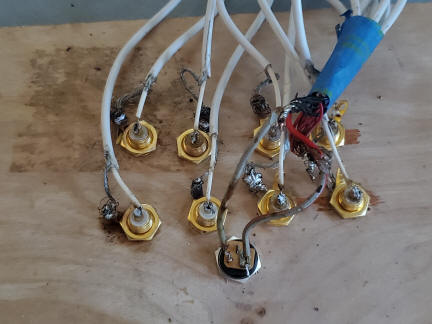
Each wire from the cameras consist of a signal ware and a power wire. Split the wires apart. Gather all the power wires. They consist of a red and white wire for 12 volt power. Strip and solder all the red wires together and leave one lead red wire. Do the same for the white wire. These connect to the K2 plug. Red goes to the center lug.
The signal wire is another story. It consists of a single wire wrapped in a ground mesh. Remember the ground mesh is impossible to solder for a number of reasons. On the other hand the signal wire is very small but easily soldered.
Usually ground mesh wires are crimped and not soldered. What I did was wrap the ground mesh around the terminal and then wrapped copper wire around it. I was then able to solder it.
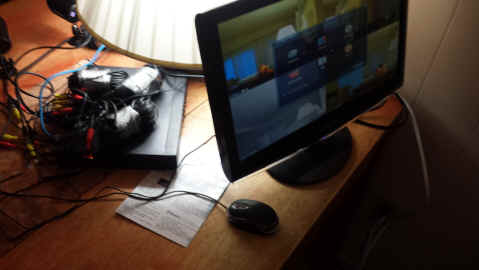
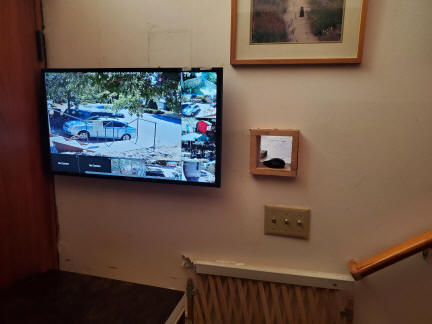 Now that all the connections are running it is
possible to use a monitor next to the front door or in a convenient
place. The unit supports a DCI cable as well as an HTMI cable.
Now that all the connections are running it is
possible to use a monitor next to the front door or in a convenient
place. The unit supports a DCI cable as well as an HTMI cable.
I also built a mouse hole to run the system.
Clean around the cameras often because cobwebs are a real nuisance and they show up at night big time. Make sure your clock is correct to the second and don't worry about motion because there are cars and leaves and cats and birds. I never set up the motion stuff because it always goes off.
If a camera goes blank it may just have to be reset. Unplug the power to all the cameras, wait 10 seconds and plug them back in. If the camera is still out it may be bad. If the camera screen says no signal then it is getting power but the signal connection is not getting through.